
Finding the best way to prepare your designs for DTF printing can be a real challenge for small apparel shops aiming for top-tier results. Getting your artwork files right is more than a technical task—it is the first big step toward ensuring your custom clothing stands out in a crowded North American market. In this guide, you will uncover the steps that lead to professional-quality DTF print results by focusing on efficient setups and meticulous file preparation.
Table of Contents
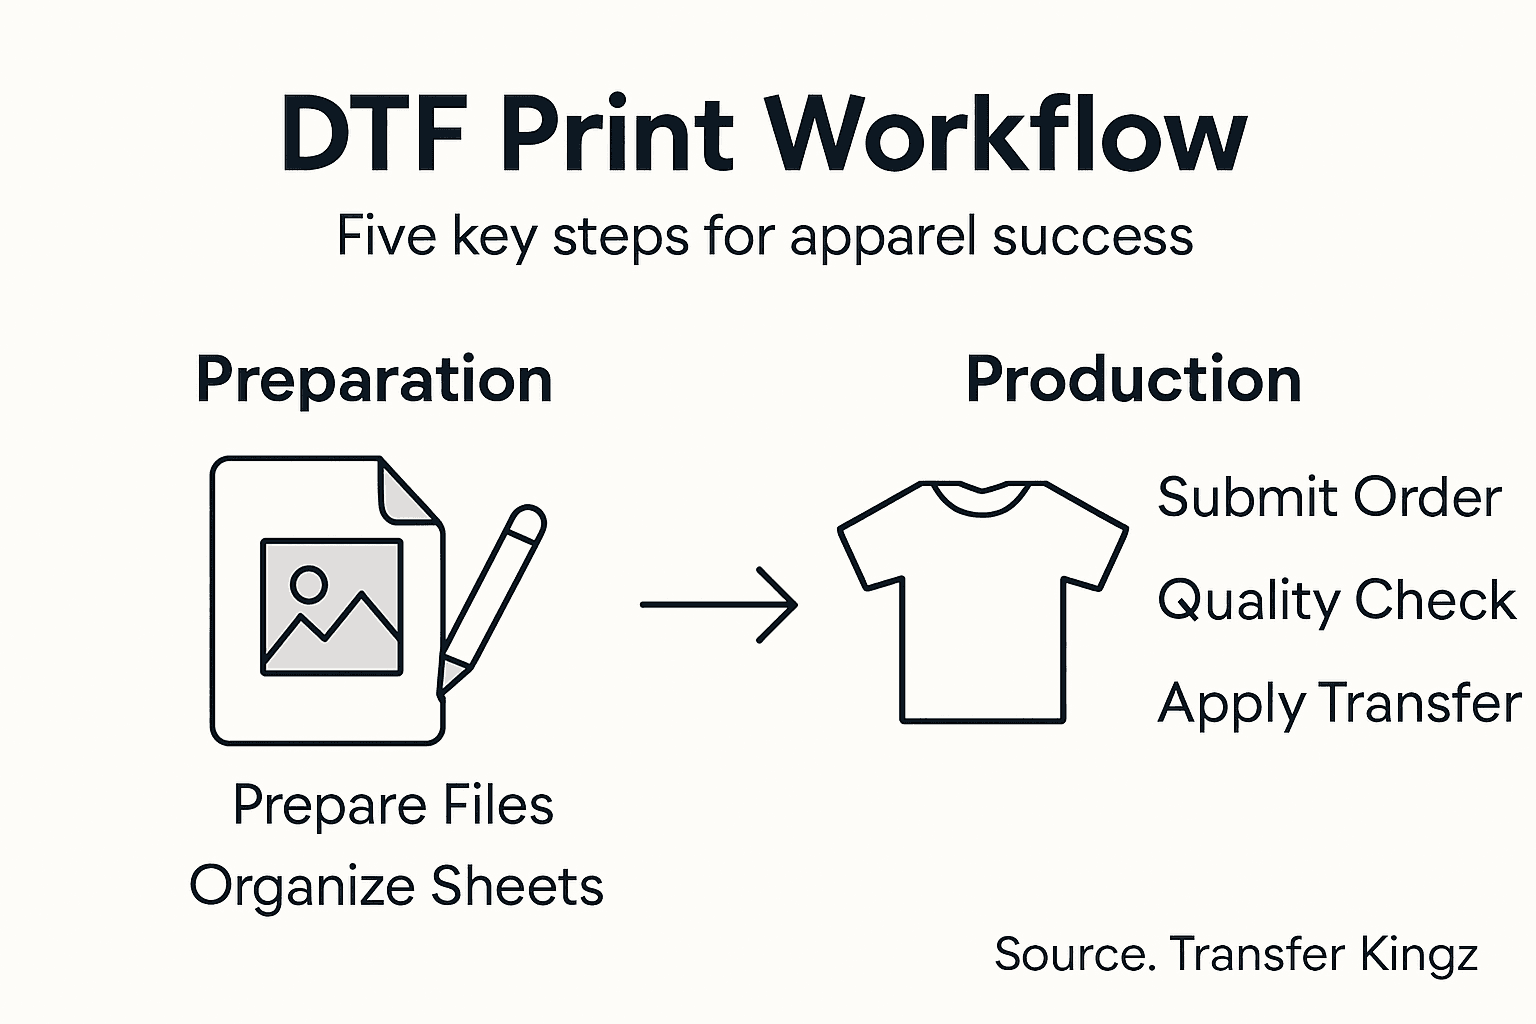
- Step 1: Prepare Artwork Files For DTF Printing
- Step 2: Organize And Arrange Gang Sheets Efficiently
- Step 3: Upload And Submit Orders For Production
- Step 4: Inspect Transfers And Ensure Print Quality
- Step 5: Apply And Test DTF Transfers On Apparel
Quick Summary
| Key Takeaway | Explanation |
|---|---|
| 1. Use High-Quality Vector Files | Always create artwork in high-resolution vector formats for crisp prints and accurate scalability. |
| 2. Organize Files Clearly | Use clear naming conventions for easy tracking and to prevent confusion during production. |
| 3. Inspect Transfers Thoroughly | Conduct detailed checks for color accuracy and adhesion before applying transfers to garments. |
| 4. Test Application Techniques | Perform initial tests on sample garments to ensure transfer durability and print quality. |
| 5. Use a Digital Template | Create a template for common design sizes to streamline the gang sheet arrangement process. |
Step 1: Prepare artwork files for DTF printing
Preparing your artwork files correctly is crucial for achieving professional DTF print results. Your digital design serves as the foundation for transforming custom apparel, making file preparation an essential first step in the printing workflow.
Start by ensuring your artwork is created in a high quality vector graphic software like Adobe Illustrator or Inkscape. Resolution matters significantly for print file accuracy, so aim for a minimum of 300 dots per inch (dpi) to guarantee crisp image reproduction. Convert color modes from RGB to CMYK for precise color matching, and use transparent background PNG or vector files that allow clean transfer onto various fabric colors.
Organize your digital files systematically by using clear naming conventions that include design name, date, and version. Save your final print ready file as a high resolution PDF or vector file compatible with DTF printing equipment. Check that all fonts are outlined or embedded to prevent unexpected substitutions during printing.
Pro tip: Always create a test print on transfer paper before running a full production batch to verify color accuracy and design placement.
Here’s a summary of essential DTF artwork file requirements and their impact:
| Requirement | Why It Matters | Common Mistake |
|---|---|---|
| 300 dpi resolution | Ensures crisp print detail | Low-res files cause blurring |
| CMYK color mode | Accurate color reproduction | RGB may shift hues |
| Outlined or embedded fonts | Prevents font substitution | Missing fonts alter designs |
| Transparent backgrounds | Clean transfer on garments | Opaque backgrounds show edges |
| Clear file naming | Easy order tracking | Vague names slow workflow |
Step 2: Organize and arrange gang sheets efficiently
Optimizing your gang sheet layout is a critical strategy for maximizing production efficiency and minimizing material waste in DTF printing. By carefully arranging multiple print jobs on a single transfer sheet, you can significantly reduce overall production costs.
Print production standards recommend strategic planning for gang sheet layouts. Start by analyzing the size and dimensions of your artwork designs, ensuring they can be efficiently nested without compromising image quality. Group similar sized designs together to maximize sheet coverage and minimize unused space. Pay special attention to color requirements and ink density across different designs to maintain consistent print quality.

Use digital layout software that allows precise positioning and scaling of artwork. Arrange smaller designs around larger ones to fill negative spaces effectively. Consider color harmony and ink usage when combining multiple jobs, as this helps optimize press runs and reduce overall material consumption. Always leave appropriate margins between designs to prevent color bleeding and ensure clean transfer boundaries.
Pro tip: Create a digital template for your most common design sizes to streamline gang sheet arrangement and reduce setup time for repeat print jobs.
Step 3: Upload and submit orders for production
Submitting your DTF print order requires careful attention to detail and understanding the digital workflow that transforms your artwork into custom apparel. This step bridges your creative vision with production execution, ensuring your designs are processed accurately and efficiently.
Understand the production workflow requirements by preparing your files meticulously before uploading. Compress your artwork files into standard formats like PDF or PNG, ensuring they meet the specified resolution and color profile guidelines. Check that your digital files are named clearly using consistent conventions that include design name, date, and version number. Verify file sizes comply with the platform upload limits and that all necessary metadata is included to facilitate smooth processing.
Navigate to the online submission portal and carefully follow the upload instructions. Double check each design before final submission. Select the desired quantity, fabric type, and transfer specifications. Review your order details comprehensively to prevent potential errors that could delay production. Confirm your payment method and shipping information before completing the transaction.
Pro tip: Always keep digital backups of your submitted files and order confirmations in case you need to reference them during production.
Step 4: Inspect transfers and ensure print quality
Careful inspection of your DTF transfers is the final critical step in guaranteeing professional apparel production. This process ensures that every transfer meets your exacting standards before application to fabric.
Follow the print production standards by conducting a comprehensive visual and technical assessment. Examine each transfer under consistent lighting conditions using a clean white background. Check for color accuracy comparing the transfer against your original digital design. Look for subtle details like edge definition, color saturation, and potential print artifacts. Verify that image resolution remains sharp and no unexpected color shifts occurred during production.
Perform physical quality checks by testing the transfer’s adhesive properties and heat resistance. Gently flex the transfer to ensure ink integrity and look for any signs of cracking or potential peeling. Measure the transfer against your original specifications checking dimensions and color matching. Randomly select samples from each production batch to validate consistent quality across your entire order.
Pro tip: Keep a detailed log of your quality inspections including photos and notes to track production consistency and quickly identify potential manufacturing issues.
Below is a reference of DTF transfer quality check points and how to verify them:
| Quality Check | How to Verify | What to Watch For |
|---|---|---|
| Color accuracy | Compare with digital proof | Noticeable color shifts |
| Edge definition | Inspect under good light | Blurry or fuzzy outlines |
| Adhesion strength | Flex test after pressing | Cracking or peeling |
| Size accuracy | Measure dimensions | Size mismatch |
| Wash durability | Launder test sample | Fading after washes |
Step 5: Apply and test DTF transfers on apparel
Successfully applying DTF transfers requires precision and technique to transform your digital designs into professional quality garment prints. This critical stage bridges your artwork with the final wearable product.
Direct-to-film printing demands careful heat press application using specific temperature and pressure settings. Preheat your garment to eliminate moisture and create a smooth surface. Position the transfer carefully using alignment markers or heat resistant tape to prevent shifting. Set your heat press between 305 to 320 degrees Fahrenheit and apply firm pressure for 10 to 15 seconds. For lighter fabrics use slightly lower temperatures and shorter press times.
After initial application allow the transfer to cool completely before testing durability. Gently stretch the fabric to check for cracking or peeling. Conduct wash tests by laundering test samples in cold water and air drying to simulate real world wear conditions. Check color vibrancy and transfer adhesion after multiple wash cycles. Pay special attention to edges and intricate design details to ensure long lasting print quality.
Pro tip: Create a sample test garment for each new design to validate transfer performance before full production runs.
Elevate Your Custom Apparel Workflow with Premium DTF Transfers
Struggling to maintain consistent print quality while managing complex DTF print workflows? This guide highlights key challenges such as preparing high-resolution artwork, optimizing gang sheets, and ensuring flawless application that many custom apparel creators face today. At Transfer Kingz, we understand the importance of precision and efficiency in every step from file preparation to final transfer application.
Discover our wide selection of DTF transfers, custom apparel printing, heat transfers, t-shirt printing, high-quality prints designed to streamline your production process and deliver vivid, long-lasting results. With our advanced online platform, you gain access to easy upload options, gang sheet builders, and quick turnaround times to help you focus on creativity without sacrificing quality.

Take control of your DTF print workflow today. Visit Transfer Kingz to explore how our premium transfers and expert support can empower your custom printing business. Start your order now and experience the difference that professional-grade materials and user-friendly services make in your apparel production.
Frequently Asked Questions
How do I prepare my artwork files for DTF printing?
To prepare your artwork files for DTF printing, ensure your design is created in high-resolution vector software, save it as a 300 dpi file, and convert the color mode from RGB to CMYK. Use transparent backgrounds and clearly organize your files with appropriate naming conventions.
What is the best way to organize gang sheets for DTF printing?
Organize your gang sheets by strategically nesting designs of similar sizes to maximize space and minimize waste. Leave appropriate margins between designs to prevent color bleeding and ensure a clean transfer.
How can I ensure the quality of DTF transfers before applying them?
Inspect each DTF transfer for color accuracy, edge definition, and adhesion strength before applying it to fabric. Perform a flex test on the transfer and inspect for any signs of cracking, then keep a detailed log of your quality checks to monitor consistency.
What temperature and pressure settings should I use for applying DTF transfers?
Set your heat press between 305 to 320 degrees Fahrenheit for DTF transfer application, applying firm pressure for 10 to 15 seconds. Preheat the garment first to ensure proper adhesion and smooth application.
How should I conduct wash tests on DTF transferred garments?
After applying the transfer, conduct wash tests by laundering samples in cold water and air drying them to simulate real-world conditions. Check for color vibrancy and transfer adhesion after several wash cycles to ensure long-lasting quality.
What steps should I follow to upload and submit my DTF print order?
When submitting your DTF print order, compress your artwork files into standard formats, check that they meet resolution and color profile guidelines, and navigate to the submission portal to follow the upload instructions. Always confirm your order details before completing the transaction.


