
Small business owners and independent designers know the frustration when a batch of DTF prints goes wrong—streaky lines, peeling transfers, or colors that just do not match the original design. The stakes feel even higher when every order counts for your growing brand and reputation across regions from Europe to North America. Mastering common DTF printing errors puts you back in control, helping you prevent waste and keep your customers happy with professional results.
Table of Contents
- Step 1: Identify Common DTF Printing Errors
- Step 2: Inspect Equipment and Supply Quality
- Step 3: Adjust Printer Settings for Best Results
- Step 4: Test and Verify Print Output
Quick Summary
| Key Point | Explanation |
|---|---|
| 1. Prevent Ink Clogging | Regularly clean printer heads to avoid missing lines and streaks in prints. |
| 2. Ensure Even Powder Application | Calibrate your powder hopper and check for moisture to achieve uniform texture and adhesion. |
| 3. Monitor Temperature and Pressure | Use a temperature gun to verify heat press settings for proper transfer adhesion and durability. |
| 4. Test Print Outputs Before Production | Conduct visual inspections and adhesion tests to catch color and transfer issues before full runs. |
| 5. Maintain Detailed Logs | Keep a maintenance log of adjustments and inspections to trace quality issues effectively. |
Step 1: Identify Common DTF Printing Errors
Direct-to-film printing produces stunning results when everything works right. But when errors creep in, they can ruin entire batches. Learning to spot these problems early saves you time, money, and frustrated customers.
The most common DTF printing errors fall into predictable categories. Understanding what goes wrong and why helps you catch issues before they become costly mistakes.
Ink Clogging and Print Quality Issues
Ink clogging happens when dried ink blocks your printer’s nozzles. You’ll notice this immediately as missing lines or gaps in your design. The film might look streaky or have incomplete color coverage. This typically occurs when your printer sits idle too long or when humidity levels drop.
Powder Application Problems
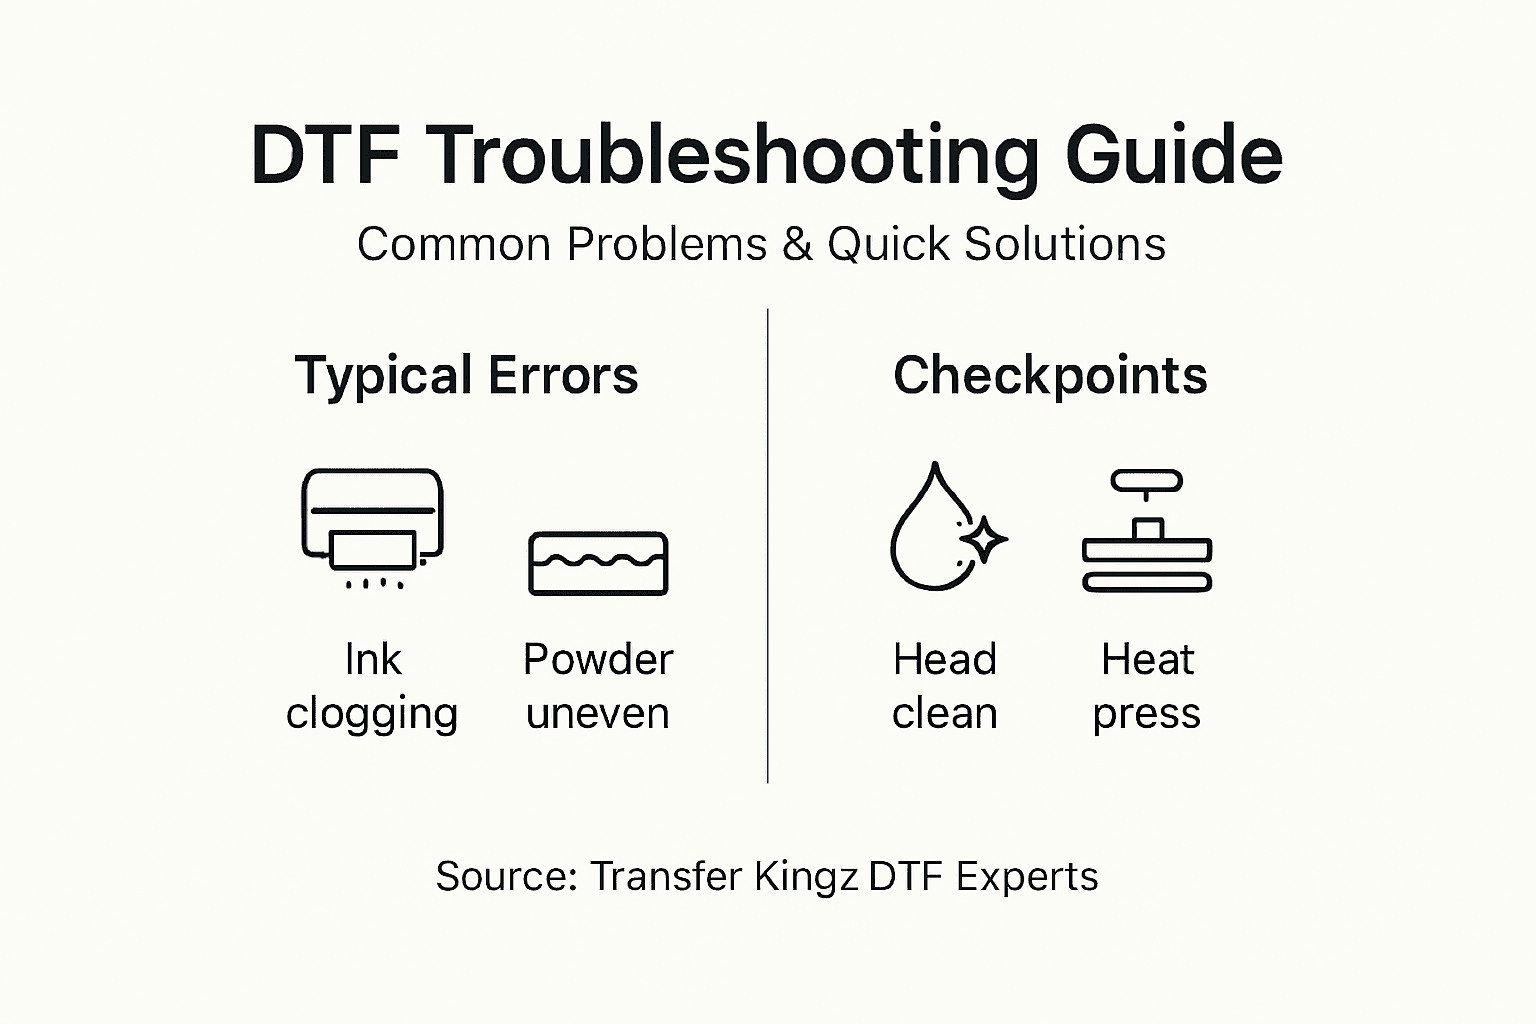
Powder application errors create texture and adhesion nightmares during heat pressing. Look for uneven powder coverage across the film—some areas thick, others bare. You might also see powder clumping in corners or edges. These issues often stem from powder hoppers that aren’t calibrated correctly or moisture contamination in your powder supply.
Adhesion and Transfer Failures
Color mismatches and misregistration represent another critical category of errors. When your design doesn’t stick properly to fabric, the transfer peels away after just a few washes. You might also notice ink bleeding or spreading beyond your intended design lines. These happen when heat press temperature, pressure, or dwell time are wrong.
Common error patterns to watch for:
Here’s a summary of typical DTF printing errors and their underlying causes:
| Error Type | Key Cause | Noticeable Symptom |
|---|---|---|
| Ink clogging | Idle printer, low humidity | Missing lines, streaky prints |
| Powder application issues | Moisture, poor calibration | Uneven texture, clumping |
| Adhesion/transfer failure | Wrong temperature/pressure | Peeling, ink bleeding |
- Faded or washed-out colors pointing to insufficient ink or powder
- Shifting designs indicating misalignment during transfer
- Cracked or brittle transfers caused by excessive heat
- Sticky or tacky feel suggesting undercooked powder
Catching errors during the film inspection phase prevents wasting garments during heat pressing—always inspect your printed film under good lighting before transfer.
Understanding common DTF printing mistakes helps you develop a quality control routine that catches problems early.
Pro tip: Keep a test swatch from each print run and press it immediately after completion—this lets you identify transfer issues before you move on to production garments.
Step 2: Inspect Equipment and Supply Quality
Your equipment and supplies determine whether you produce flawless transfers or defective batches. A quick inspection routine catches problems before they cost you money. This step involves checking your printer, heat press, inks, films, and powders systematically.
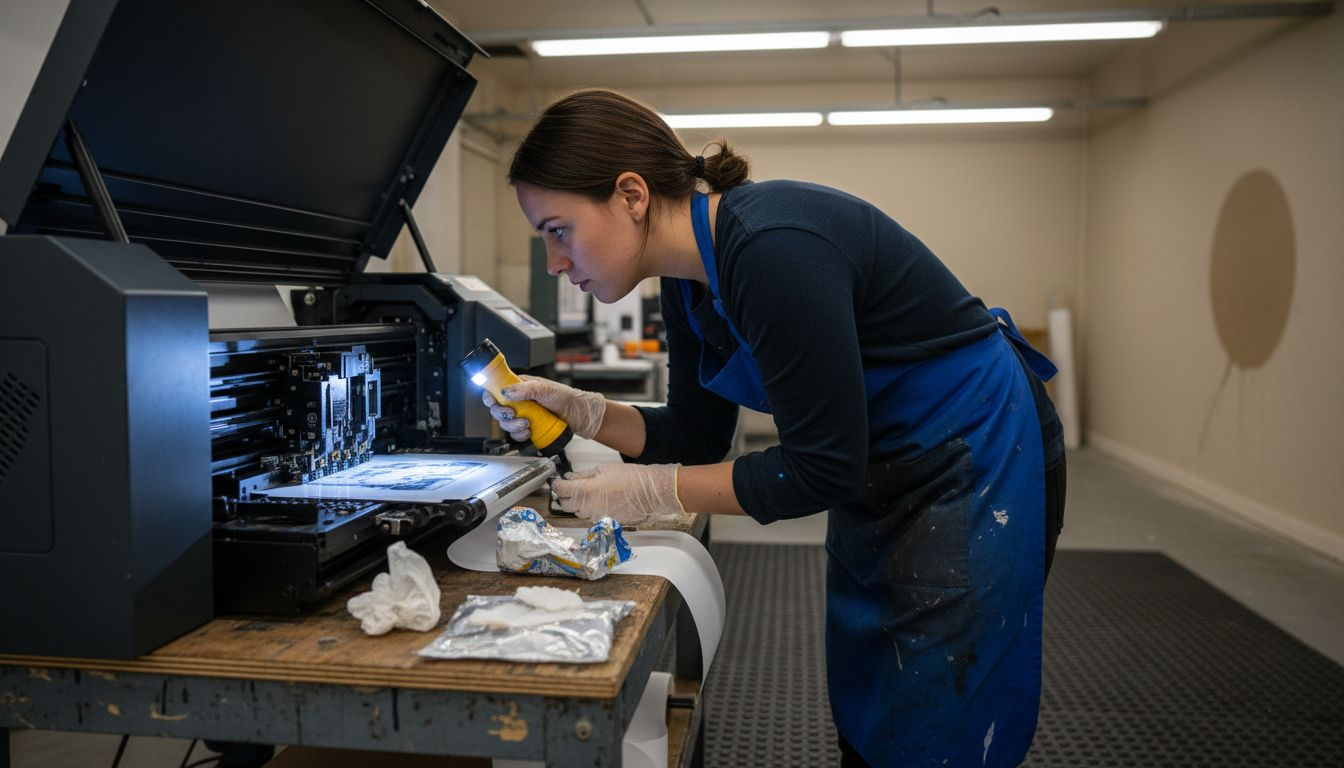
Start by examining your printer heads and nozzles. Look for dried ink buildup or clogs that block color output. Run your printer’s cleaning cycle if you notice any missing colors or streaky lines. If cleaning doesn’t fix the issue, you may need professional head cleaning or replacement nozzles.
Next, inspect your heat press calibration. Temperature accuracy matters enormously in DTF printing. Use a temperature gun to verify that your press actually reaches the temperature you set. Many heat presses drift over time, causing under-cured or over-cured transfers. Check pressure settings too—uneven pressure creates inconsistent adhesion across your garments.
Evaluate your supplies carefully. High-quality inks, films, and thermoplastic powders form the foundation of successful transfers. Check your ink containers for separation or discoloration. Expired inks print poorly. Examine your film for tears, creases, or manufacturing defects before loading it into your printer. Test your powder for moisture contamination by pinching a small amount—it should flow freely, not clump.
Perform these quality checks regularly:
- Verify printer color output using your RIP software’s test patterns
- Check heat press temperature with a calibrated thermometer
- Inspect film for damage before each production run
- Test powder consistency by examining flow and moisture content
- Review ink viscosity if prints appear too light or too dark
Regular calibration of devices such as printers and heat presses ensures reliable and repeatable results across every order.
Pro tip: Create a simple maintenance log where you record calibration checks, equipment adjustments, and supply batch numbers—this documentation helps you trace quality issues back to specific causes.
Compare core quality control checks for DTF printing and their impact:
| Area Inspected | What to Check For | Business Benefit |
|---|---|---|
| Printer heads | Dried ink/clogs | Prevents poor color output |
| Heat press | Accurate temperature | Ensures durable transfers |
| Films and powders | Tears, moisture, clumps | Reduces waste, smooth adhesion |
Step 3: Adjust Printer Settings for Best Results
Printer settings control everything from color vibrancy to transfer durability. Small adjustments make the difference between mediocre prints and stunning transfers. Your goal is to dial in the optimal balance of ink density, resolution, and curing temperature for your specific equipment.
Start by consulting your printer’s manual for manufacturer recommendations. Every DTF printer model behaves differently, and following the baseline settings saves troubleshooting time. Look for recommended ink density levels, which typically range from 70 to 120 percent depending on your fabric type and desired intensity.
Adjust your ink density settings next. Higher density produces richer, more vibrant colors but uses more ink and may cause bleeding. Lower density saves supplies but might result in faded prints. Test different density levels on scrap film, starting at the manufacturer’s recommended baseline and increasing by 10-percent increments until you reach your desired color saturation.
Next, configure optimal print resolution and curing temperature settings. Print resolution determines image sharpness—600 DPI works well for most designs, while 1200 DPI creates photographic detail but increases production time. Curing temperature must match your specific machine’s specifications or you’ll end up with under-cured powder that doesn’t adhere properly.
Check your roller pressure and alignment carefully. Adjusting roller pressure ensures even ink distribution and proper film feeding throughout the print. Misaligned rollers cause streaking or smudging across your prints. Use your printer’s adjustment tools to achieve consistent, even contact across the entire print width.
Fine-tune these critical settings:
- Print speed to balance quality with production efficiency
- Powder application amount for complete coverage without clumping
- RIP software color profiles to match your intended output
- Nozzle temperature if your machine offers this adjustment
Start with manufacturer defaults, then make small adjustments one setting at a time so you can identify which change created which result.
Pro tip: Keep a settings spreadsheet documenting each adjustment you make, the test results, and the final successful settings—this becomes your reference guide for consistent quality across all future orders.
Step 4: Test and Verify Print Output
Testing your prints before full production runs prevents expensive mistakes. This step involves examining color accuracy, adhesion quality, and overall durability. You’ll catch problems while you can still adjust settings rather than after completing an entire batch.
Begin with visual inspection under standard lighting. Place your printed film on a white surface and examine it under consistent, bright lighting conditions. Look for color accuracy, consistent ink coverage, and proper powder application. Compare your test print against your original design file to identify any color shifts or missing details.
Next, perform an adhesion test on a garment sample. Heat press your test film onto scrap fabric using your standard settings. After pressing, immediately examine the transfer while it’s still warm. Press your fingernail against the design and try to peel back the film. If it releases easily without sticking to the garment, your adhesion is insufficient.
Wash your test garment after the transfer cools completely. Use warm water and mild detergent, then dry it normally. Check whether the design stays vibrant or fades significantly. Evaluate the feel of the transfer. Proper color verification requires spectrophotometers that measure color accurately beyond human visual perception to ensure colors meet pre-defined standards.
Evaluate these key factors:
- Color consistency across the entire print area
- Edge definition and sharpness of your design lines
- Powder coverage with no bare spots or clumping
- Transfer durability after washing and drying
- Overall appearance matching your quality standards
Testing and verifying print output involves color measurement and visual inspection under standard lighting to ensure consistent quality.
Pro tip: Create a physical reference library of successful test prints from each design and color combination, stored in a binder with notes on settings used—this becomes your quality benchmark for future production runs.
Overcome DTF Printing Challenges with Expert Solutions from Transfer Kingz
Troubleshooting common DTF printing issues like ink clogging, powder application errors, and adhesion failures can feel overwhelming and costly. When your prints show streaks, peeling, or color shifts, it directly impacts your business reputation and profitability. Transfer Kingz understands these pain points and offers a streamlined path to flawless custom transfers. By providing premium inks, films, and powders combined with precise digital printing services, we help you avoid the guesswork and maintain consistent quality every time.

Discover how our fast turnaround times and high-quality materials can save you from wasted garments and frustrated customers. Ready to elevate your DTF printing process with vibrant, durable transfers? Visit Transfer Kingz today. Explore how easy it is to upload your designs, use our gang sheet builder, and get professional transfers delivered without minimum order requirements. Don’t let print errors slow you down—take control now with Transfer Kingz printing services!
Frequently Asked Questions
How can I fix ink clogging issues in DTF printing?
To fix ink clogging, first run your printer’s cleaning cycle to clear any dried ink from the nozzles. Ensure to perform this maintenance regularly, especially if the printer sits idle for more than two days.
What should I do if my DTF transfers are peeling off?
If your DTF transfers are peeling, check the heat press settings—ensure the temperature, pressure, and dwell time are correct. Adjust these settings as needed and test on a scrap garment for quality before proceeding with a full run.
How do I ensure proper powder application for DTF printing?
To ensure proper powder application, regularly calibrate your powder hopper and check for moisture contamination. Perform a visual inspection of the powder consistency to confirm that it flows freely without clumping, adjusting the application amount if necessary.
What steps can I take to verify color consistency in my DTF prints?
To verify color consistency, compare your test print against the original design file under standard lighting conditions. Adjust your printer settings for ink density and print resolution accordingly based on the visual inspection and test results.
How often should I inspect my DTF printing equipment and supplies?
Inspect your DTF printing equipment and supplies before each production run to catch potential issues early. Conduct checks on the printer heads, heat press calibration, and film quality, aiming to establish a routine inspection at least once a week.
What is the best way to test DTF prints before full production?
The best way to test DTF prints is to perform a visual inspection and an adhesion test on a scrap garment after heat pressing. Wash the test garment to evaluate transfer durability, repeating these tests until you achieve satisfactory results.
0 comments